Mike Wolfe "The River Queen Refit" New Throne
New Throne for a Queen
Isn’t it strange the way land lovers back up and look at you funny when you start conversations about your marine toilet. But find a fellow boating brother and you both can talk potty for hours! You laugh, you cry and swap horror stories but one thing that’s agreed upon is that non-boating people just don’t understand the gravity of the subject.
Well sure, it may not be the most pleasant of topics, but decidedly a most necessary one. You’ll have to admit that having a proper functioning head on board your boat is essential to having a comfortable and successful outing. Not only should the toilet work with simplistic ease and reliability but you should also have a means to contain all the waste until such time that you can properly and responsibly dispose of it.
Please! Could someone just tell me why it always has to fall to the skipper to fix the toilet when there’s a failure? Couldn’t I just delegate it to some one else? (Wishful thinking) I can’t tell you how many times I’ve heard “DAD! The toilet isn’t working right!” or, “It won’t go down!” Ah music to my ears. You can tell something’s amiss when you hear someone in there just pumping the hell out of that damn little toilet! Gushing gallon after gallon into the ever shrinking holding tank. Well, tell you what. Let me just get up from my nap and deal with that (not so little) surprise waiting for me in the toilet.
Now it’s one thing having to deal with ones own family’s waste issues, that’s just a fact of life. It all started way back with changing diapers. A labor of love to be sure. Not so fun when it involves the massive discharge of my brother-in-law or the poor embarrassed lady friend of my wife. There has got to be a better way…
Finding my new throne:
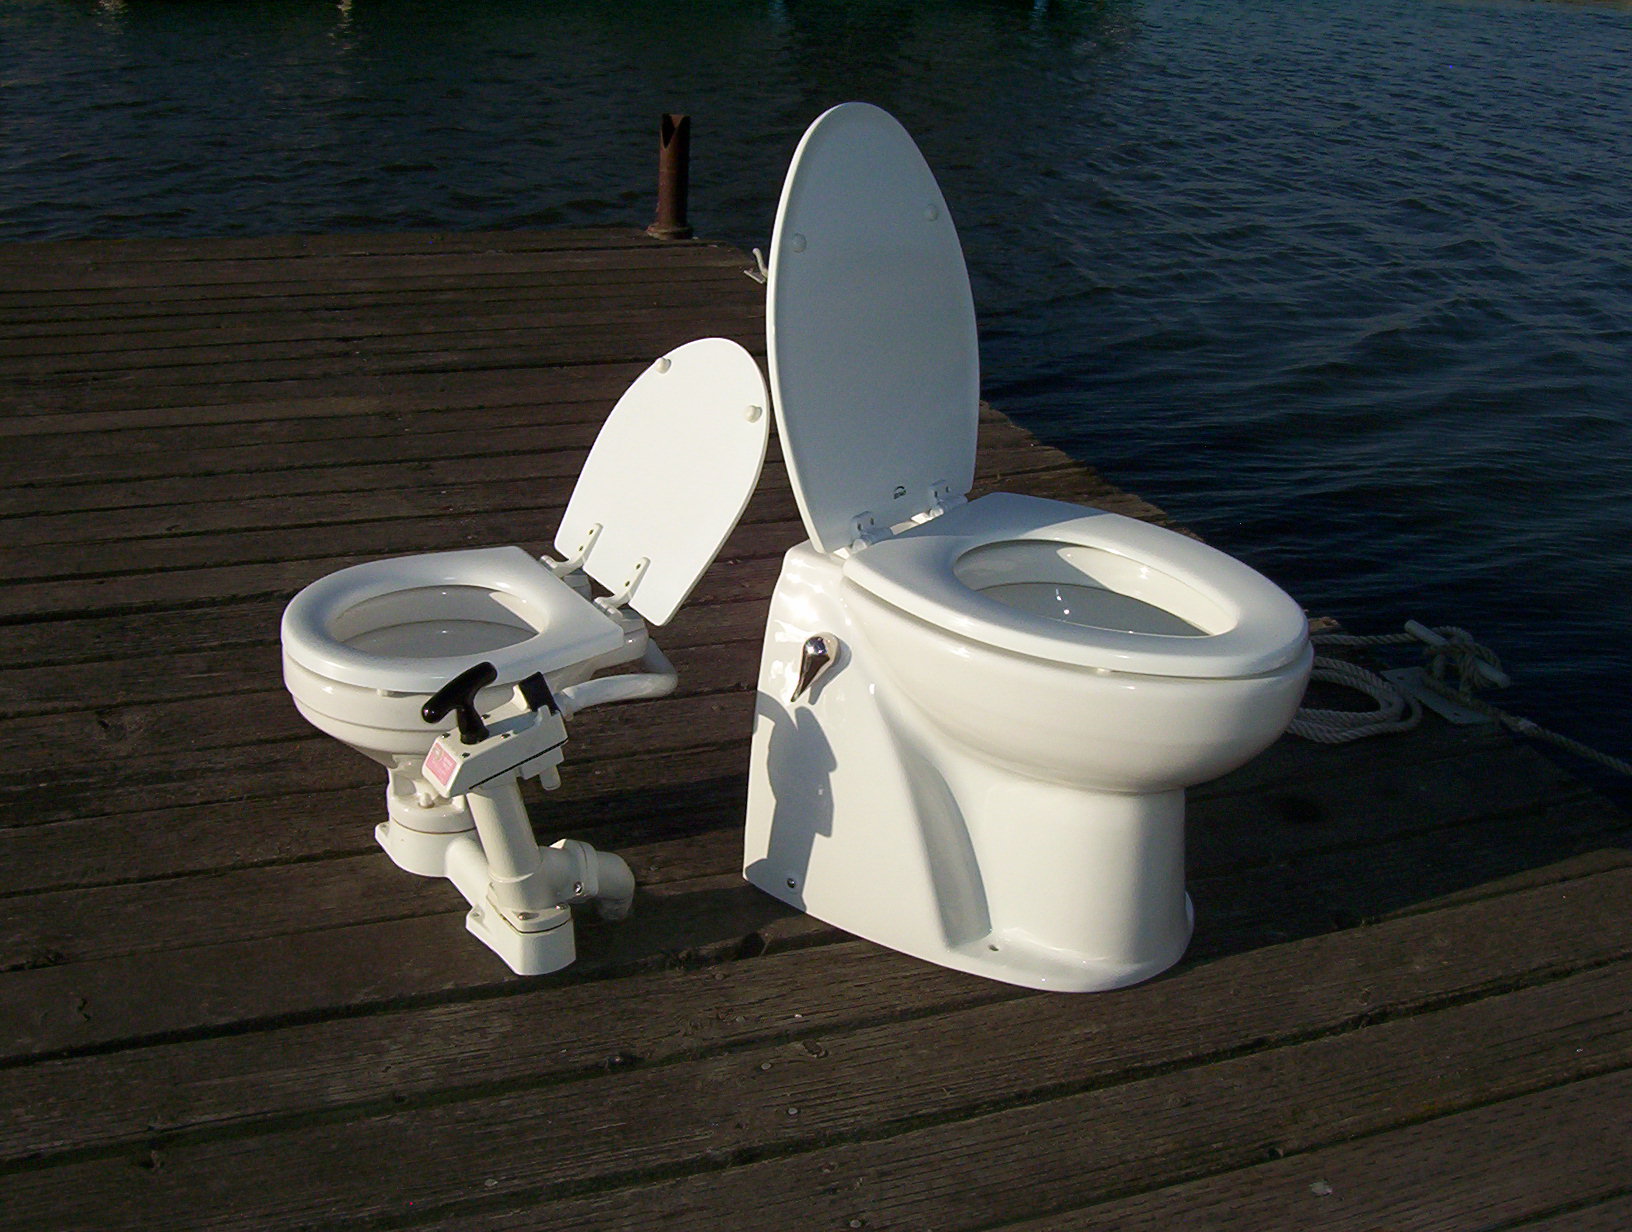
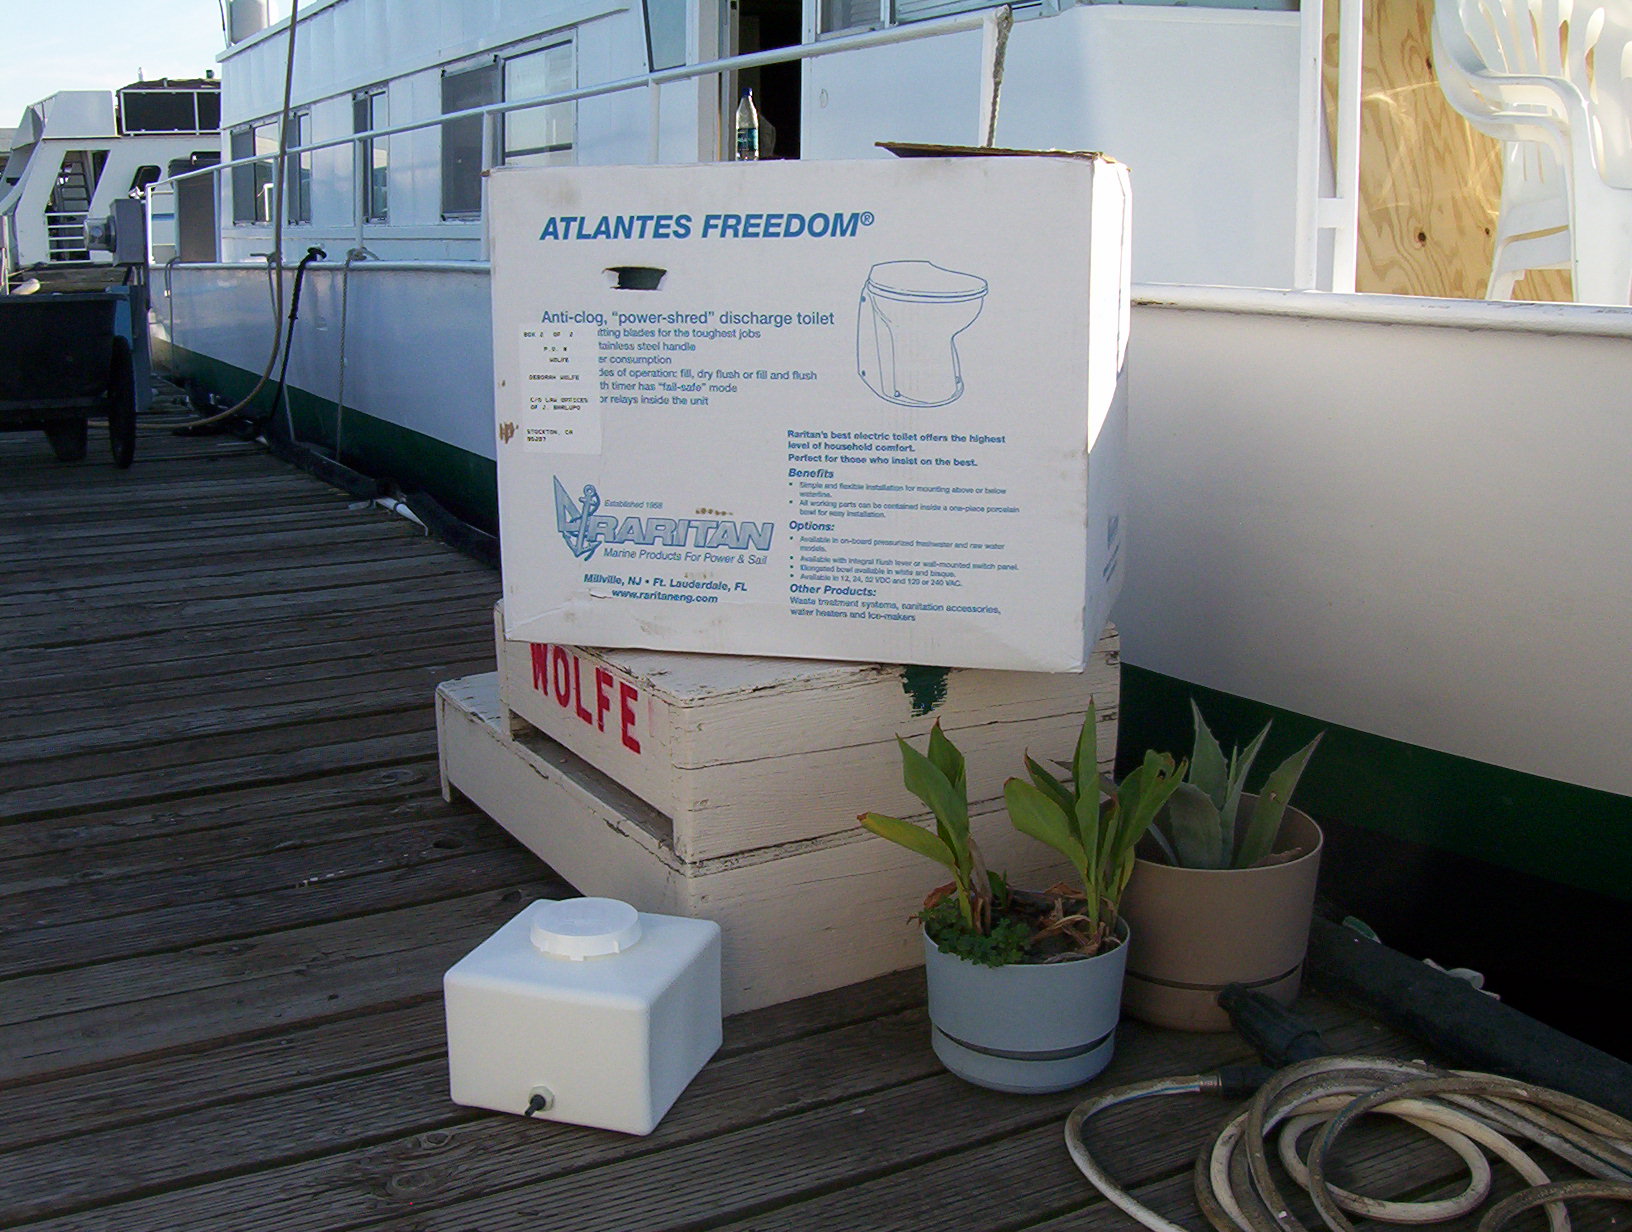
I knew I was eventually going to replace that old triple rebuilt toilet, but I wasn’t quite sure what I wanted. That was until I went to the Reno Houseboat Expo. There I, my wife Deborah and my two boys Max and Sam stood and marveled at the new model “Atlantes Freedom” at the Raritan booth. The nice fellow in the booth “Victor Willman” took the time to show us all the cool flushing functions. The demo toilet had a small recirculation water tank and a battery hooked up to it so it could be demo flushed. We were all surprised at how “house- like” it was in size and construction. Truly a thing of marvel and beauty compared to my old dumper-pumper.
Man I was sold right then and there, but being a savvy and enlightened consumer I went and did a bit more research on line. I went to “raritaneng.com” They had a very nice web page and I was impressed to find full factory support for their products available in “pfd” format. There were exploded pictures and part numbers as well as full install instructions and different configuration layouts.
I decided I was to have one of these toilets come hell or high water! (Whichever comes first).
I ordered the “Atlantes Freedom.” It comes in a few different configurations. The one I ordered was “white with an elongated bowl” equipped with a fresh water pump enclosed inside. Twelve volt system, with the handle flush. (Model Al812-01)
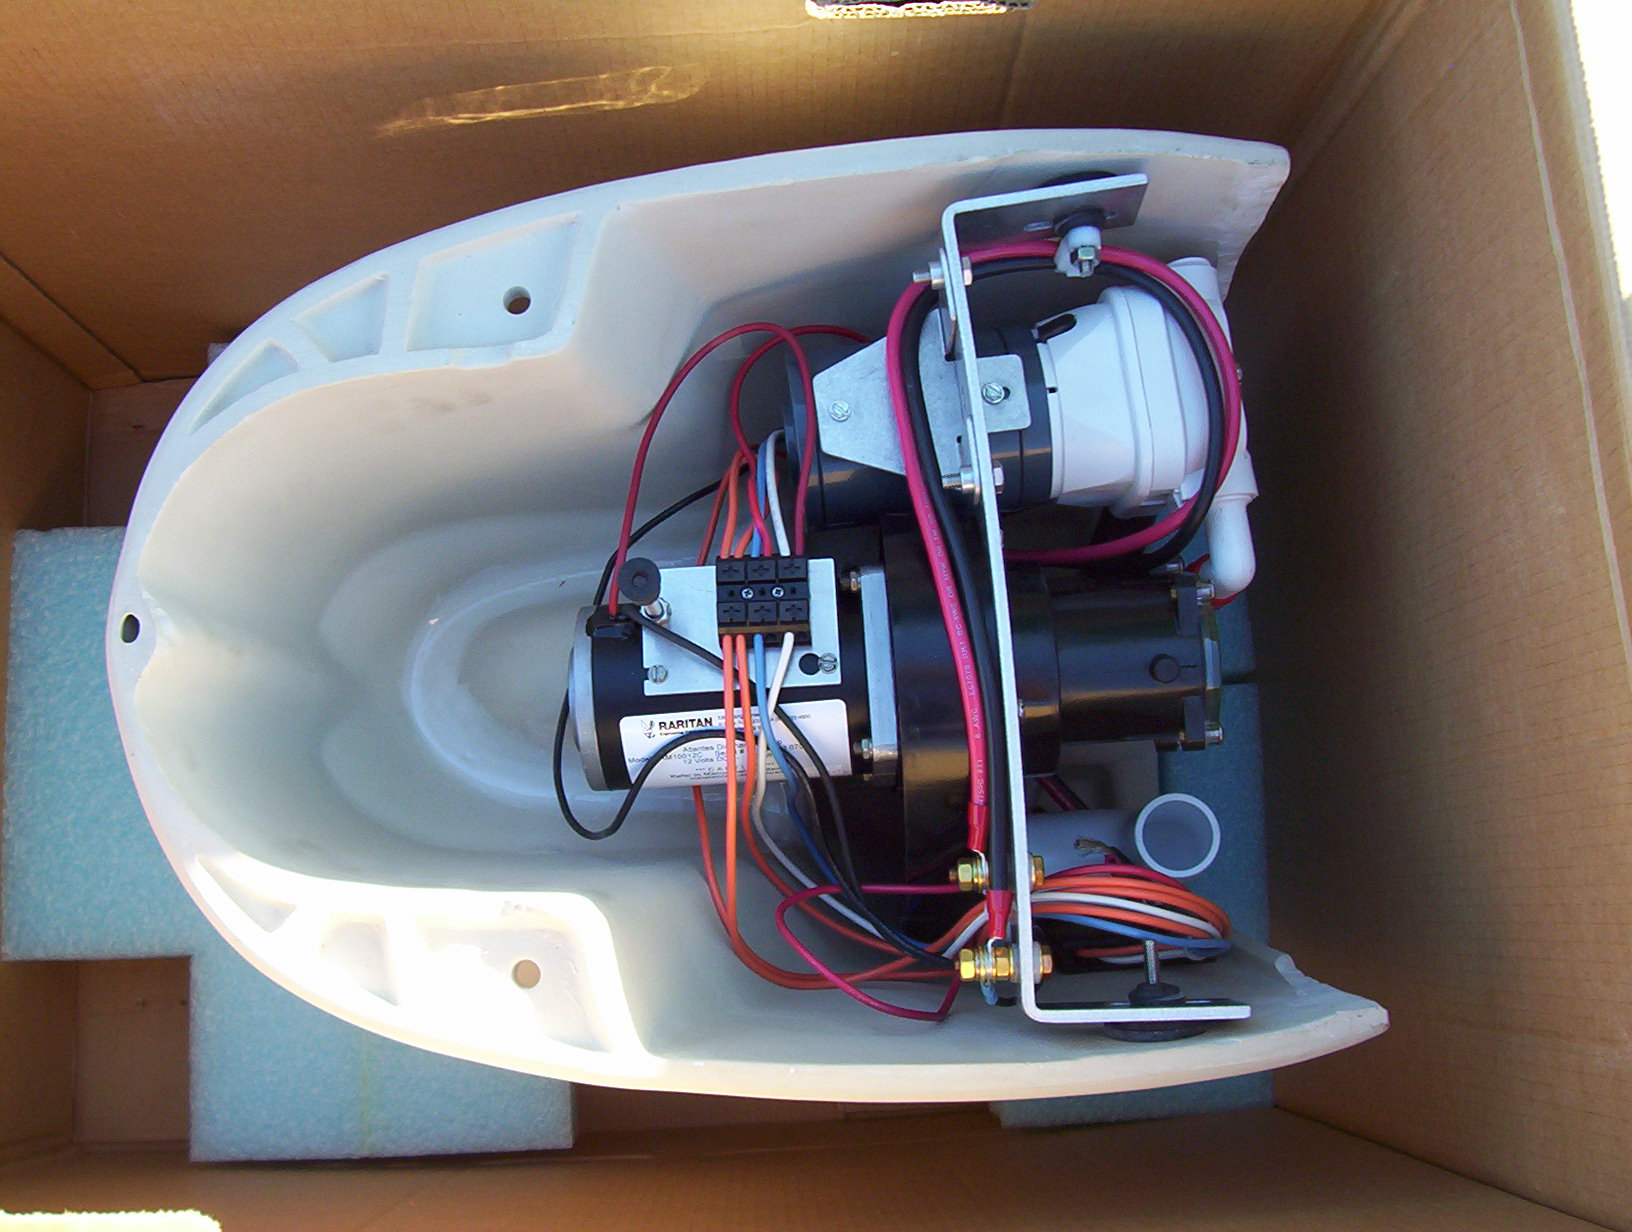
It wasn’t long before we took delivery on our new “Atlantes Freedom” the box was large and heavy, I needed help to carry it. I set my prize in the middle of the living room and started to remove the packing with hands trembling in anticipation. This is the best part for me. I love to open new equipment, the bigger the box the better. I go slow and take my time and review each item as is comes out of the container. Like Christmas! Out first came a small box of goodies. Clamps, hose fittings and a lovely large intake strainer. Much nicer than the little one I have for the old unit. Then, piece by piece I removed the rest of the custom fit packing foam to reveal my new top of the line Raritan toilet! I just know it will be the finest in the fleet!
After the un-packing, I was pleased to discover I had suffered absolutely zero “buyers remorse.” How many times have you bought a big ticket item just to see substandard workmanship or materials? Not so here. With mounting anticipation I inspected every part fully, looking for flaws and/or shipping damage. I flipped it over and turned it all different ways to familiarize myself with all the inner workings and components. I was completely impressed by the design. First thing I noticed was that the product was heavy. Not heavy bad but heavy good. The thick china bowl and casing is large and has a very solid footprint. Not like a typical marine head that tapers down to a narrow mount. (Yes I sat on it right there in the living room, as did my wife, then two teen age boys.)
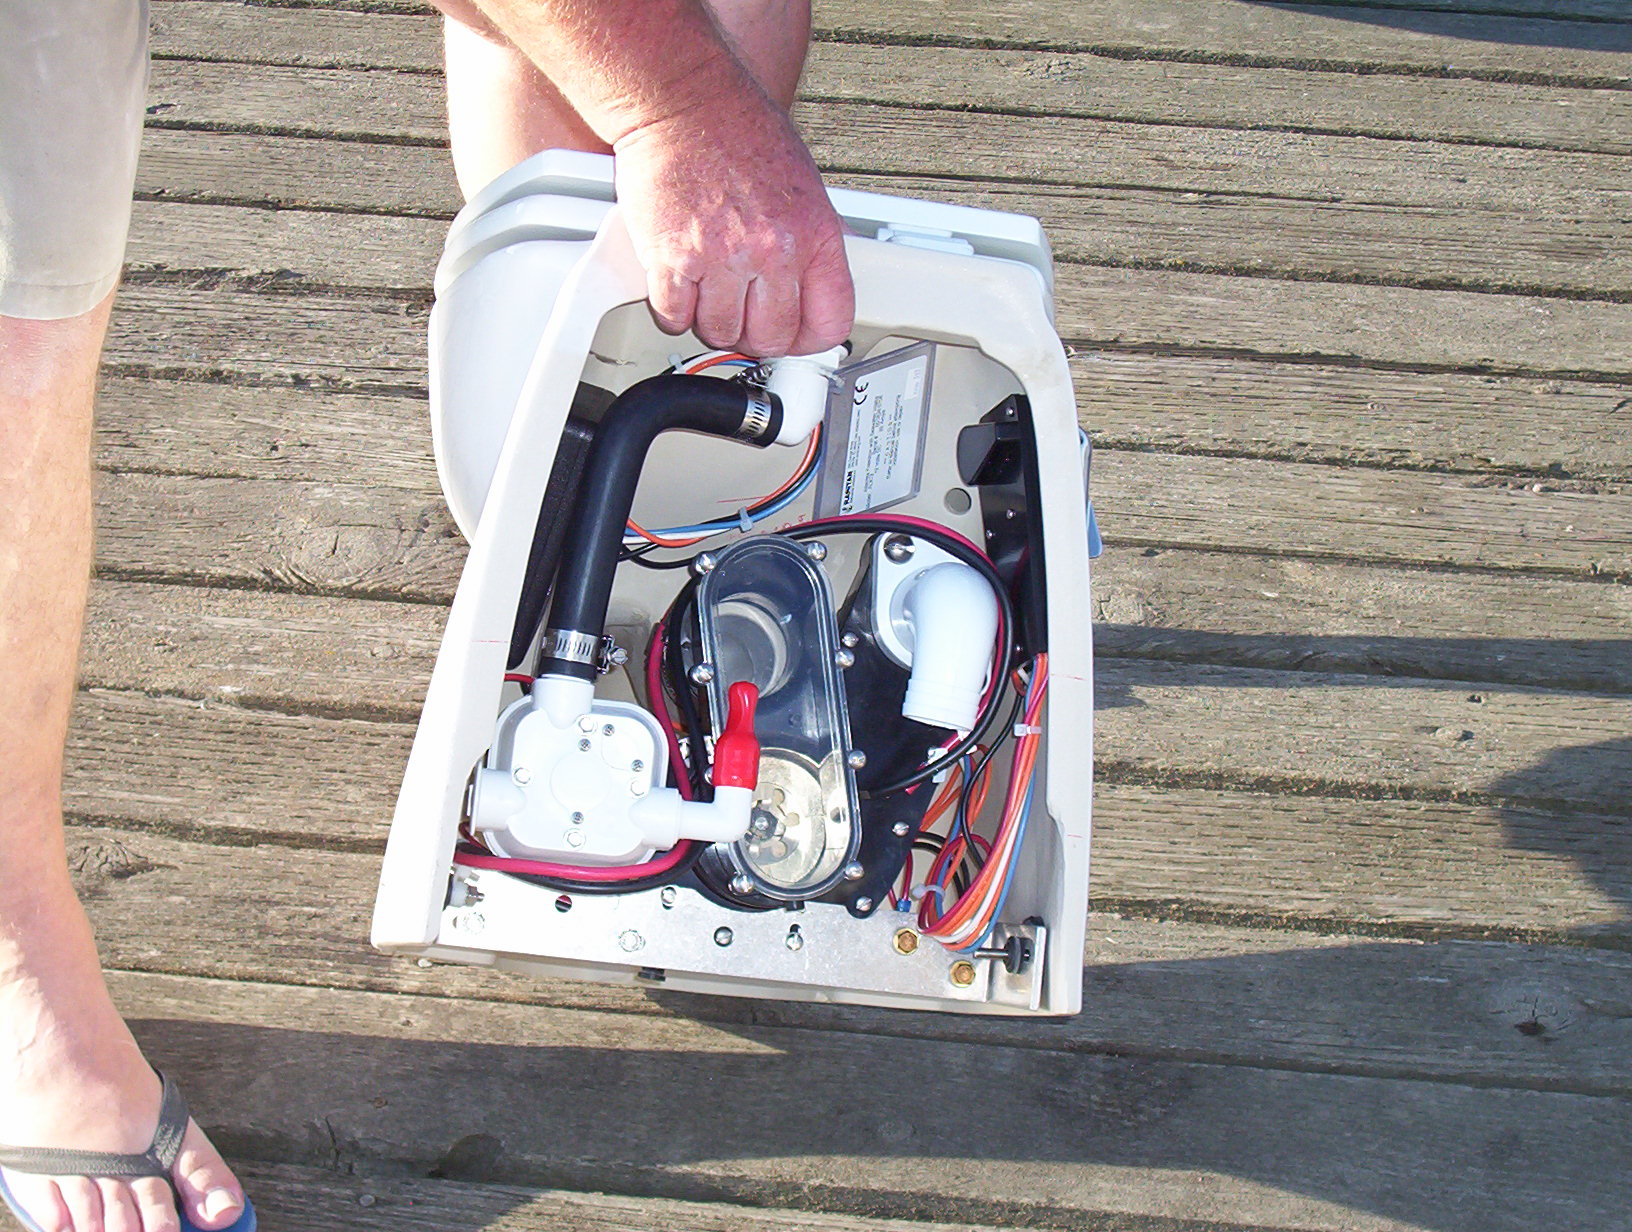
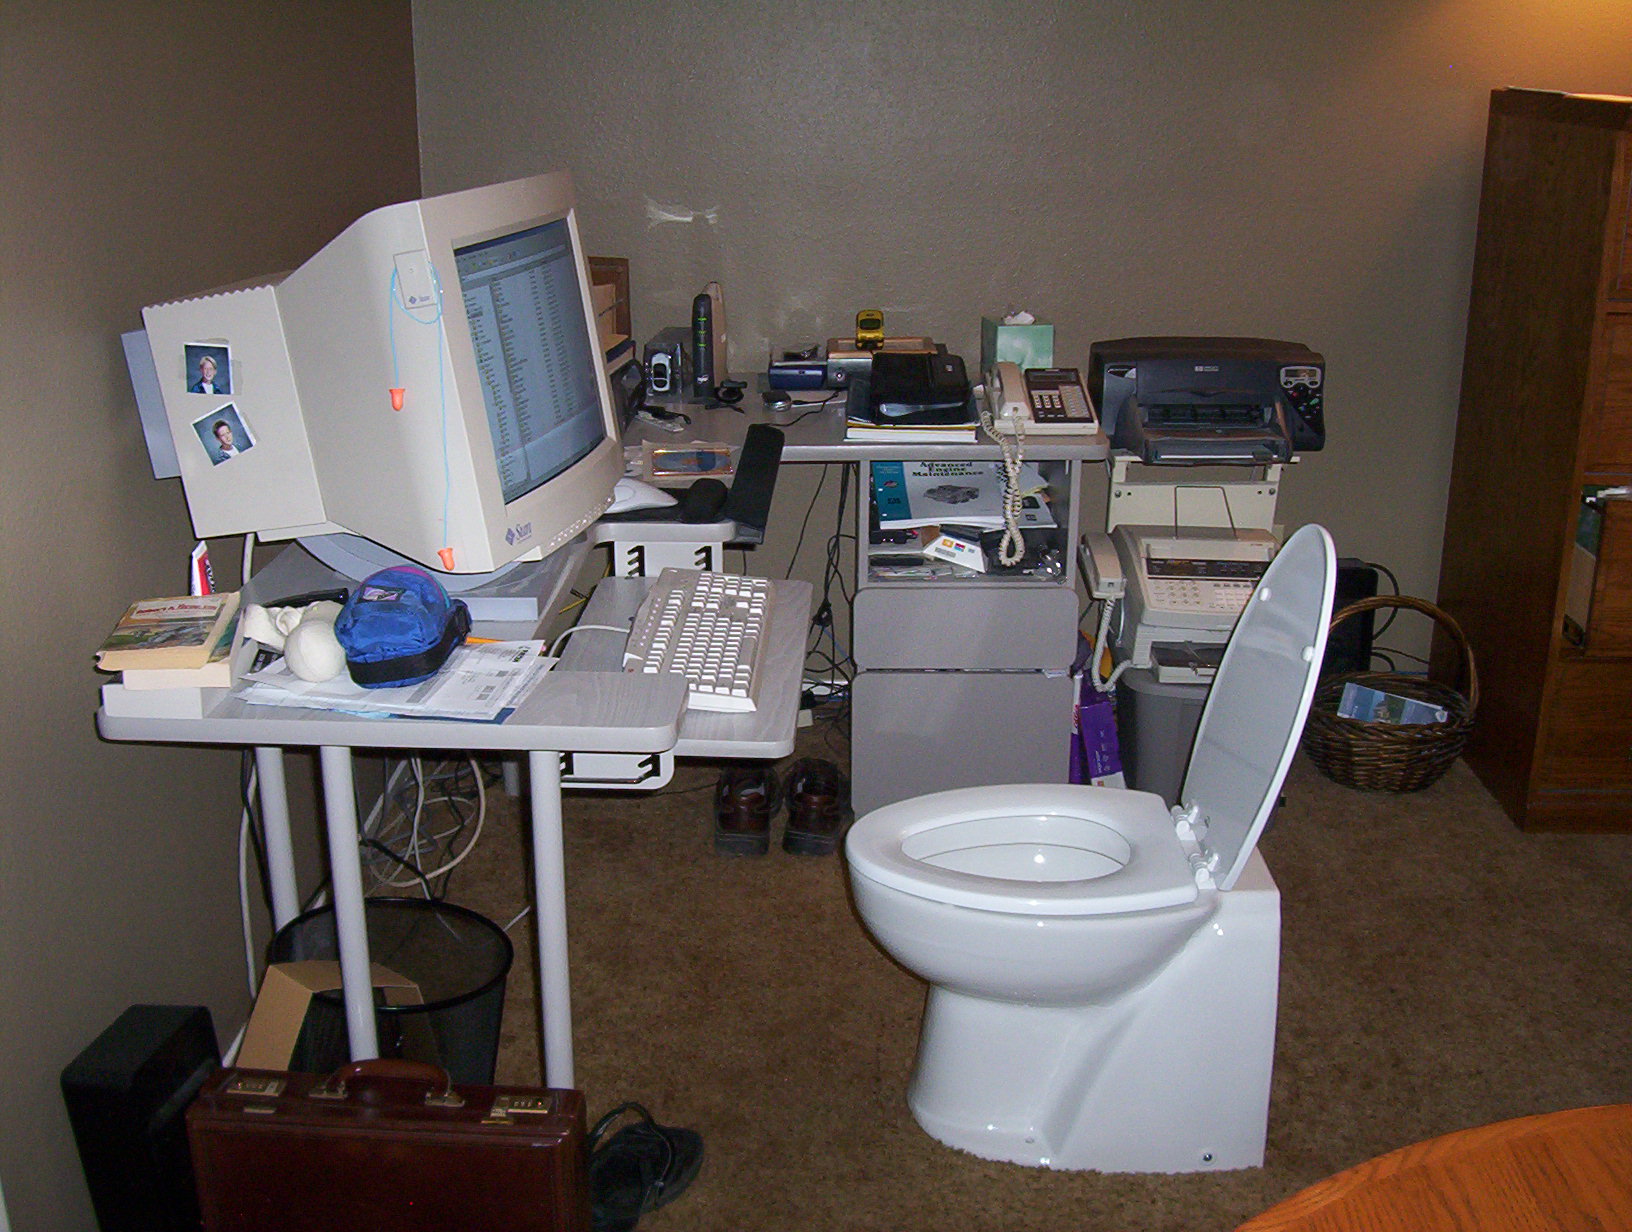
I stand over 6’3’’and weigh in at feather weight of 265 lbs. “ish” The seat was rock solid under me and very comfortable. Better I might add than my home toilet. Continuing my inspection I was very pleased to see high quality components all engineered together in logical fashion. I saw quality assurance markers as well as the units own dog tag like identification securely festooned inside. There was also a trace of water left inside where it must have been flush tested at the factory. I just couldn’t wait to install it! But for the meantime, it will have to set in a place of honor right next to the television set for all to admire! (Once again, you have to be a boater to fully understand) We had some commitments on the calendar we had to deal with first before we could start any new projects on the boat, but boy I was amp’d to get started!
Two weeks later it was time to go out to the boat and do some preliminary install work. Make some lists and take some measurements. You know, get ready for the new project. Well one thing led to another and before you know it we were forced to dust off the old stand–by camping toilet. Yes I got carried away and started dismantling the old head and everything else in sight!
Note: This is the part where things can tend to cascade. You think you’re just going to replace the toilet and… Well, let me explain.
The old pedestal I had built for the old toilet had to be removed. So, the old floor covering will need to be replaced with a better print. (One that doesn’t show the dirt so much.) Then of course the old floor was glued down to the not so old “top coat” (¼ inch plywood) so that all had to come out. I’ll have to mention that “wood trim” runs around the floor and that had to come out. Wood trim also attaches to the walls. Well we’d be crazy not to paint the walls to go with the new floor! So, all the hand rails and bathroom type things had to come off the walls. The pedestal sink by the way is attached to both the floor and walls! Out it came. Finally, the ceiling would look just too old if it were to be overlooked so new paint there. I drew the line at adding new bathroom lighting. (Maybe next year)
See what I mean about a cascade effect? Everything is attached to everything! Thank god there’s a door to the bathroom or I would have de-installed my way right out to the galley! “Oh yes” the ah, bathroom door by the way will have to be dealt with as well… Yep, just a toilet change? It’s never easy is it?
Back together:
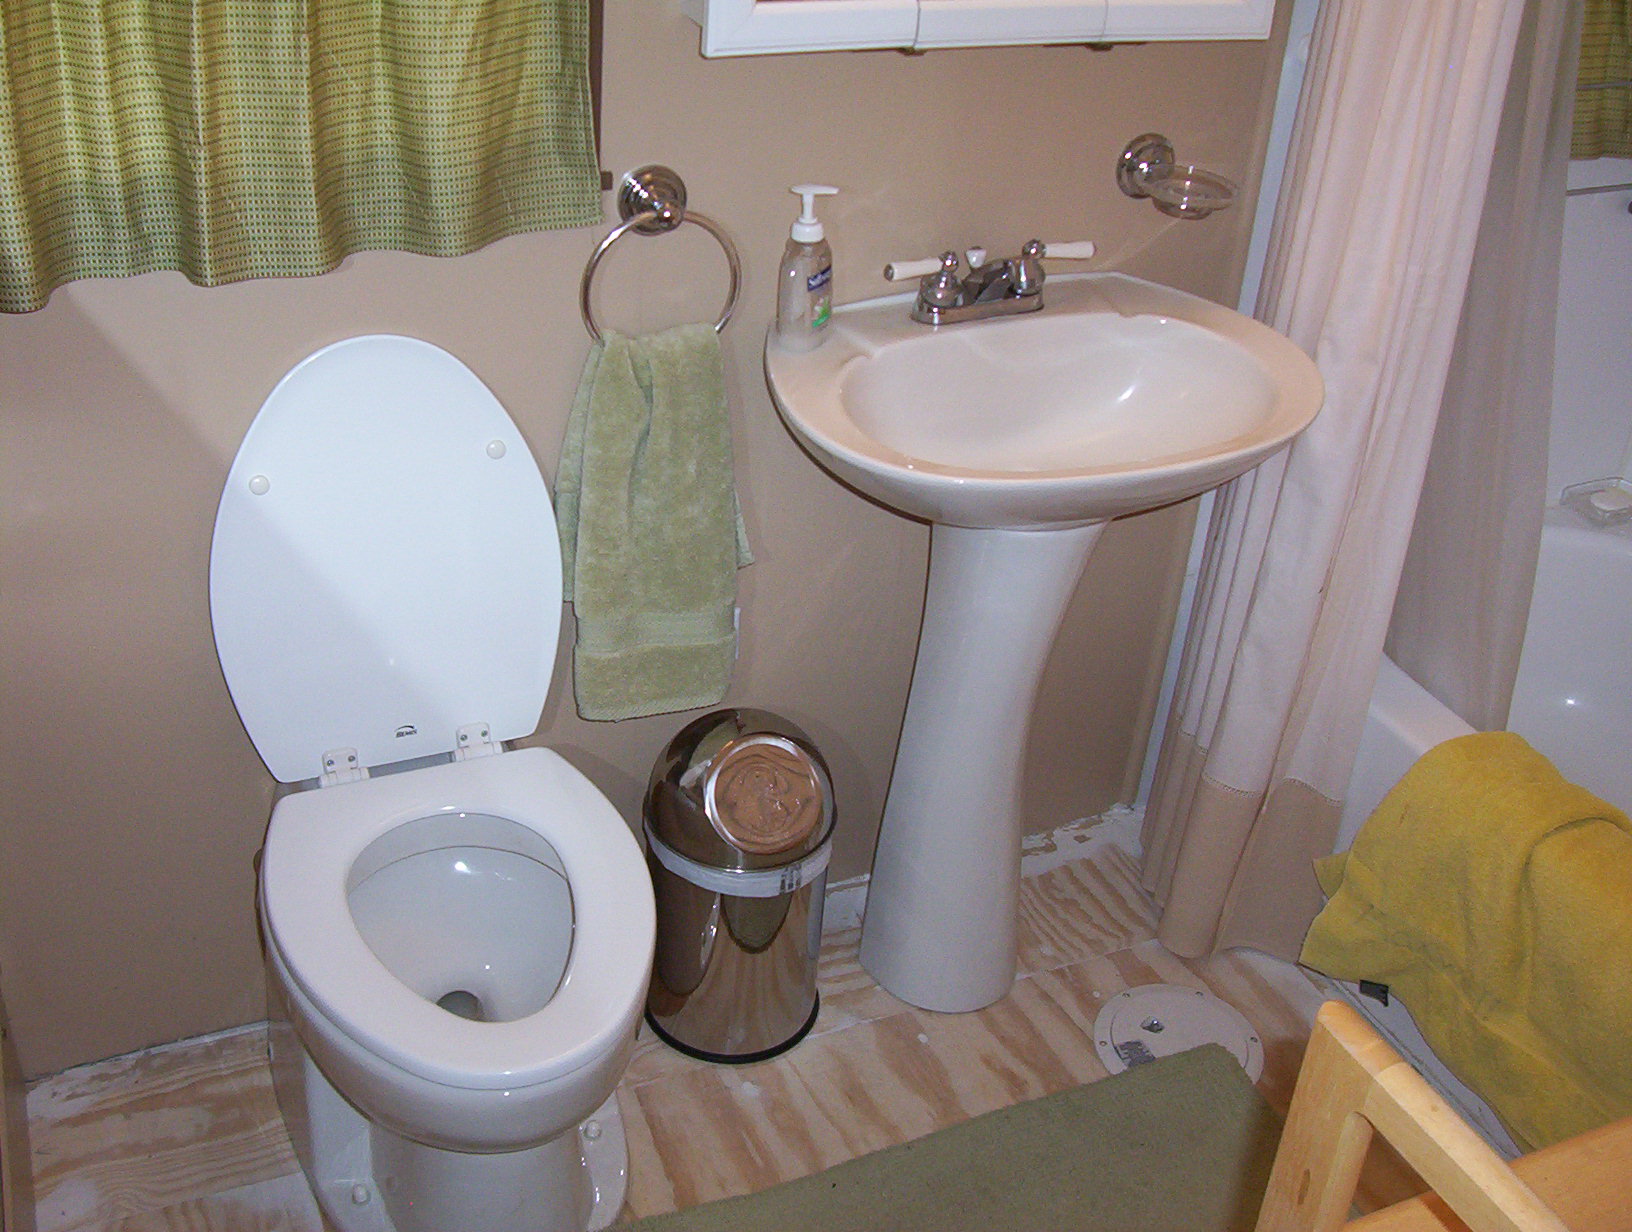
Take the aforementioned list of destruction, reverse it and that’s what we did to remodel the bathroom space. Everything went back on the way it came off.
The actual install of the head unit itself was quite simple. You need power, water and a place to send it all. It’s that simple.
The power part was an easy matter of running new wires to the main distribution power block. The length you have to run the power determines the size of the wire you need to use. I used size #8. The copious amount of instructions that Raritan sends with the head has it all laid out for you. Read it follow it! Don’t to forget to fuse it!
The “water in” was easy enough to hook up as well. As with the old head, I draw off the bottom of the boat with a sea-cock that flows to a water strainer just above the waterline. I located it at this elevation so that I can easily open and clean the screen without having to close the valve. (It’s good to work the valve now and then to be sure that it operates properly)
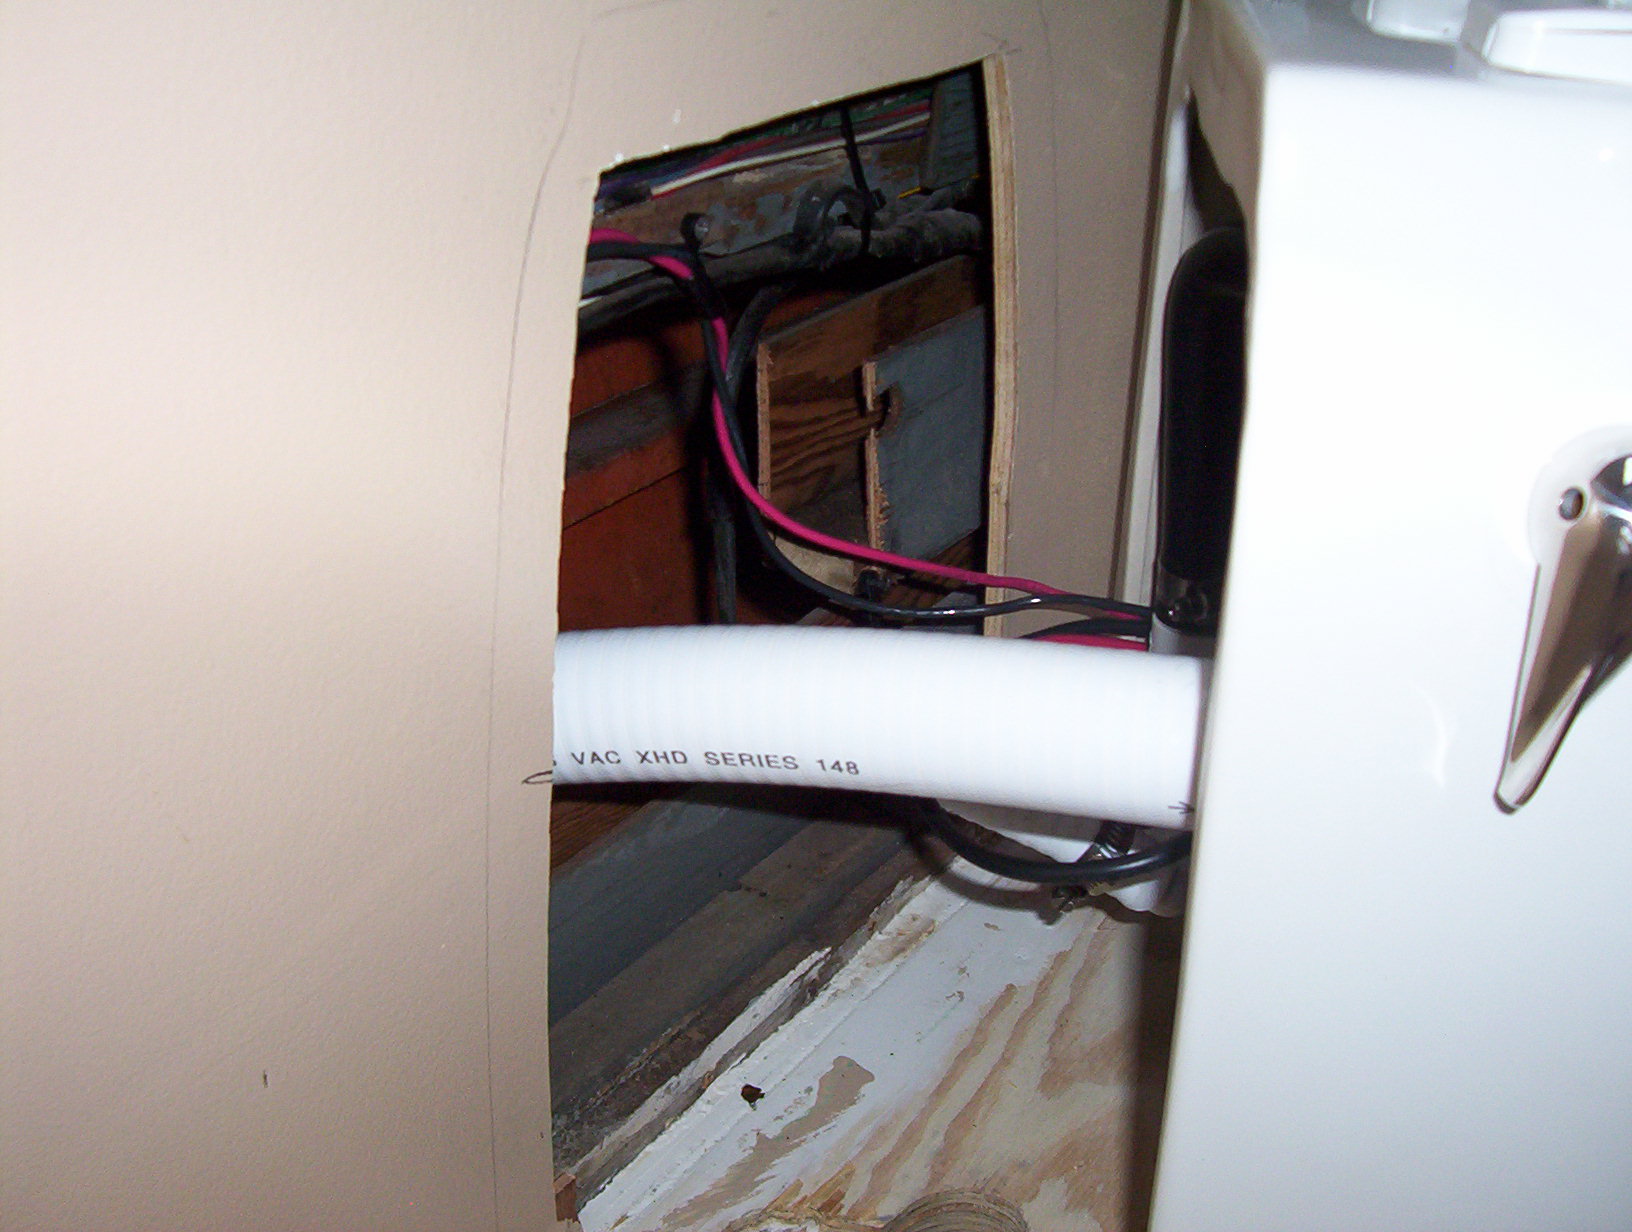
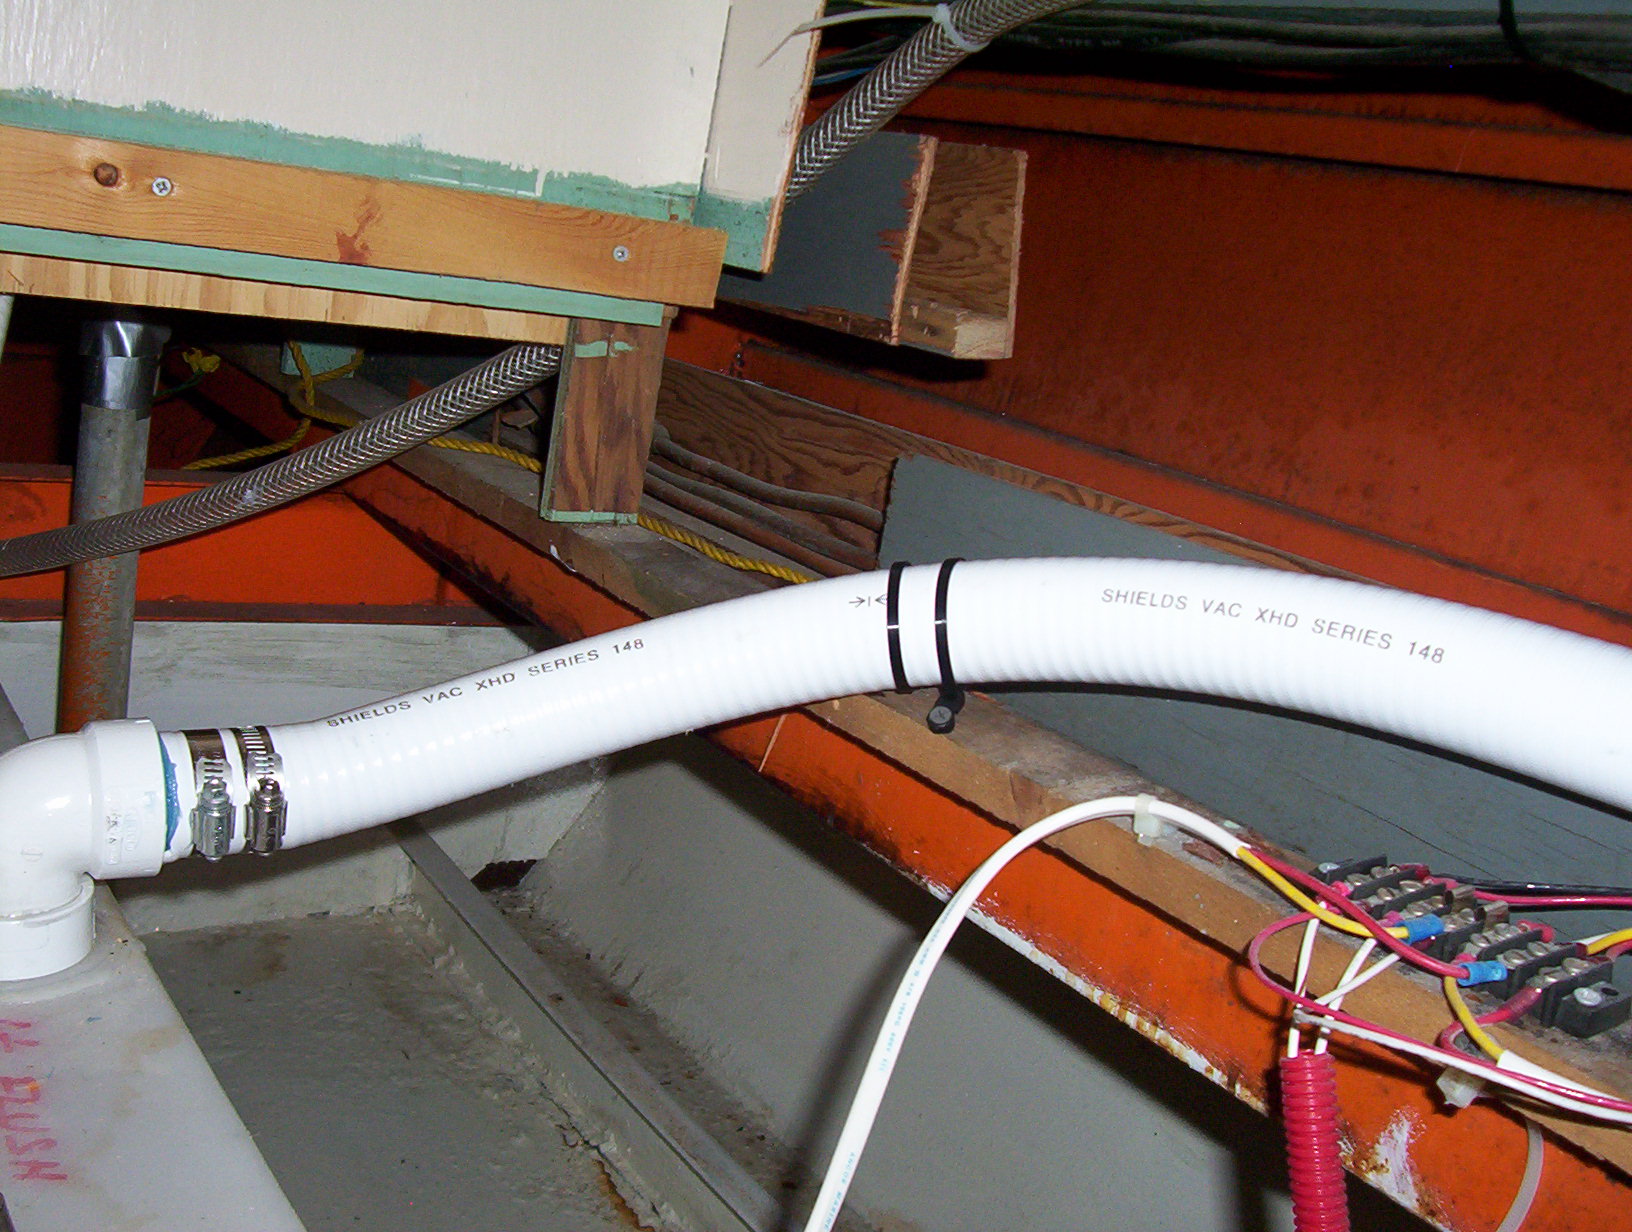
The “water out” part did pose a little more work for me. The best path here is to route the sewage exit hose with a constant down hill run to the holding tank. You don’t want any dips or low spots in the hose where “stuff” can stand. This can cause foul sewage smells to permeate the hose and make the whole boat stink. I gave my old hose a good sniff and was both happy and sad that I did. Rule of thumb, a new toilet deserves a new sewage hose. Once all my connections were made I could not wait to give her a good flush or two, or three. Ok well I flushed it allot! Looking for any sign of a leak or malfunction. As expected, I found none and pressed it right in to service. Then flushed it again.
Months have gone by now and we have had several successful over night trips. I am happy to announce absolutely zero problems or concerns regarding our new Atlantes Freedom toilet. Not one interrupted nap. Not one embarrassed guest. The only thing I have left to do is give it the “Brother-in-law test.” I say “bring it on!”
*** Post Report ***
It's been years now since we have installed our new toilet. Not seen in the picture above we have added some stick on floor tiles with kind of a stone slate look to hide the dirt. The toilet has passed the brother in law test with flying colors! Several times over I might add.
The only thing I my say that is a concern it the simple fact the it's an electrically operated toilet. When the house battery goes low (and it will) this unit doesn't work right. "Dad! The toilets busted!" "No it's not. the battery is just low." Let me get up from my nap and start the generator and battery charger...
Beats the hell out of unclogging the crapper! Will worth the money and effort. I like it better than home.
Thanks for reading my site. Be safe. mnw : )
Return to The River Queen Refit.